Simply Beautiful.

Every day we are faced with the choice- how can I make life better today? What can I say, do, make, give or be to make my life and the lives of others better. Here I want to focus on the positives of life in each day, in each moment. By choosing how we answer those questions in a positive way, we make the world a better place for every single one.


I am trying a new format starting today. I will be posting Studio project and shop updates on Mondays. Each Wednesday I will post a "World Wednesday" update with things found in nature, or other nature related topics. On Fridays I will post a tip or project I suggest. Hopefully it will be a fun and exciting change!

All images and texts are copyrighted, please contact me for permission to use anything you see here.

Monday, July 18, 2011

Shelves Part Two

The shelves I showed on the previous post were my daughter's.  After completing my set, I found that putting fabric on the inside first works better than wrapping the outside first.  When you do the inside first you can create a smoother edge as you fold the outer fabric to the inside. You could make a case for wrapping the inner fabric around the outside in order to keep edges off the inside.  That way you wouldn't have to worry about them catching on books or whatever else you want to put inside.  I think the wrap to the inside looks great and seems secure.  I used one long piece to cover around the inside sides and back of each shelf.  I used an individual square for the top inside and the very bottom of the shelves.  I wrapped a piece from the top of the middle shelf around the edge and to the bottom of the middle shelf.


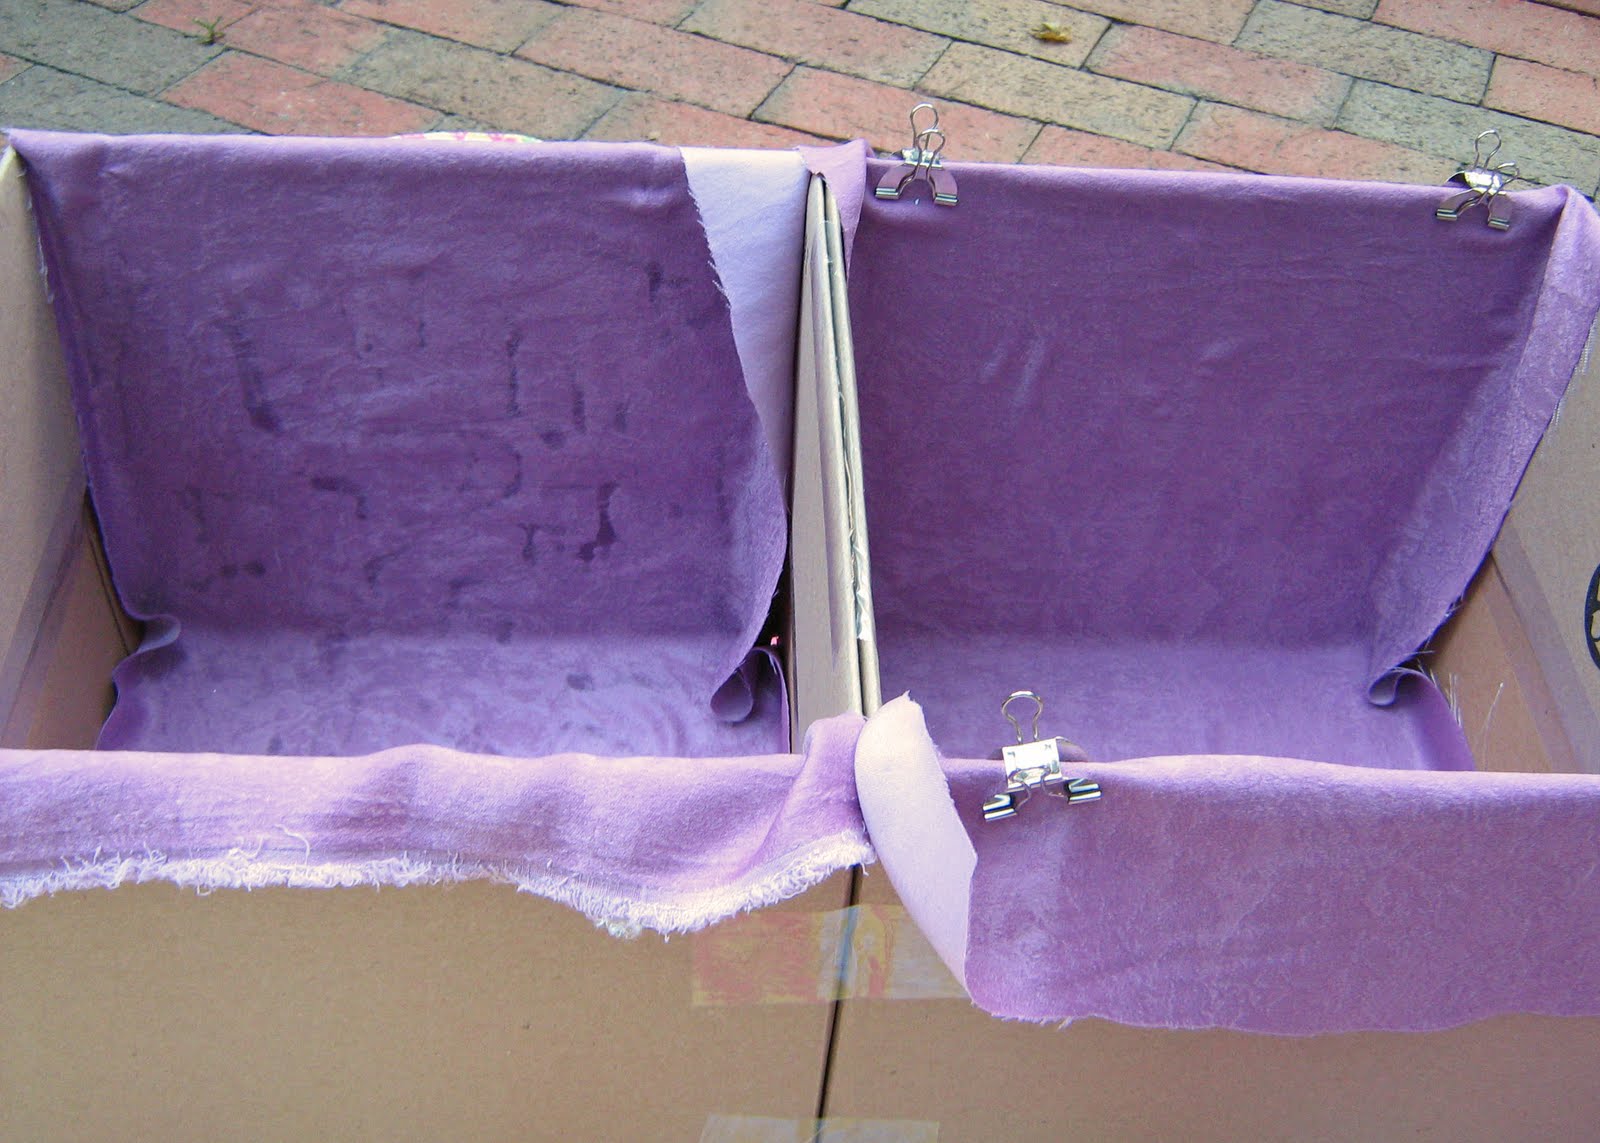
In the last picture I laid the striped fabric on the side in order to hold it up.  Then I trimmed the now dry inner fabric, pulled it to the outside and glued it down first.  I didn't wait for it to dry and instead glued the striped fabric right over top, pulling it taught.  In the following picture you can see the two versions of the shelves.  The set in the rear is drying and I will trim the interior purple fabric to just before the pink edge.  The striped one I trimmed with pinking shears at about two inches over for the sides.  Then I pulled them in and glued the edges to the interior.


Finished Products!  I love mine and my daughter's looks great to!!  As of tonight they are full of books and fabric!


My daughter was so proud of her decorative choice I had to include it.  She decorated her finished shelves with glitter glue and this butterfly family of sticker jewels on the top.  Her she's explaining who the Mommy is and who's going after which flower.  Great project start to finish!!